Karen Schulz
Active member
Do you avoid purchasing overlays (or using overlays you have) because you don't know how to use them?
Don't let them intimidate you! Whether you're a beginner or a seasoned scrapper, you can get great results with just one basic technique, the use of Blend Modes.
This quick video, on my Karen Schulz Designs YouTube Channel, was recorded in Photoshop, when Watercolor Overlays 06 was released.
The instructions are the same for Photoshop Elements, and I have written then out for you below.
Step 1:
Step 2:
Step 4:
In this tutorial, I was using Watercolor Overlays 10-1 and chose the Screen Blend Mode. This was my result.
I hope you will experiement with overlays and find them a lot of fun and MUCH easier to use than you ever imagined!


Don't let them intimidate you! Whether you're a beginner or a seasoned scrapper, you can get great results with just one basic technique, the use of Blend Modes.
This quick video, on my Karen Schulz Designs YouTube Channel, was recorded in Photoshop, when Watercolor Overlays 06 was released.
The instructions are the same for Photoshop Elements, and I have written then out for you below.
Step 1:
- Open a Watercolor Overlays in the Layers Panel. (Always work on a duplicate overlay so you don’t accidentally overwrite your original.)
Step 2:
- Click on the Create New Fill or Adjustment Layer icon (top of the Layers Panel, 3rd icon from the left).
- In the Dropdown Menu, choose Gradient.
- In the Gradient Fill Options, click inside the Gradient Color Box. This will open the Gradient Editor.
- Click on any of the Gradients that you see that you like. I'll choose the orange/yellow/orange gradient.
- Click OK to close the Gradient Editor.
- Click OK to close the Grdient Fill Box.
- (You can create custom gradients, but that lesson is for another day.)
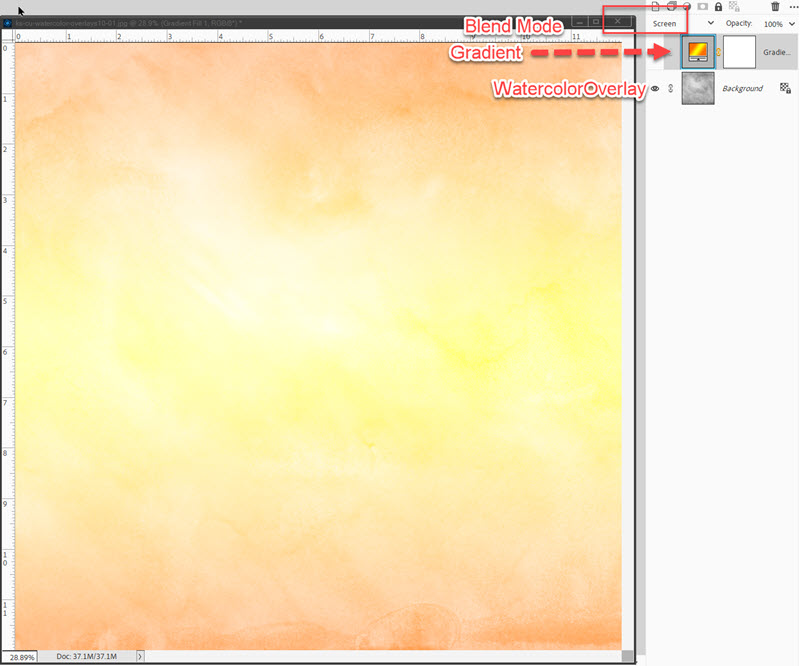
- Blend Modes are located at the top of the Layers Panel.
- In the Layers Panel, click on the Thumbnail of the Gradient to select it.
- Click on the down-pointing arrow in the Blend Mode Options to active it, and use the down-pointing arrow on your keyboard to cycle through the options.Typically Overlay, Screen, and Hard Light will work best; but it depends upon the color(s) and the overlay you are using.
Step 4:
- Once you find the look you like, save your new paper as a JPG, and you’re done.
In this tutorial, I was using Watercolor Overlays 10-1 and chose the Screen Blend Mode. This was my result.
I hope you will experiement with overlays and find them a lot of fun and MUCH easier to use than you ever imagined!